A Beginner's Guide to Workflows on HubSpot: Streamlining Your Marketing Efforts

Introduction:
In the fast-paced world of digital marketing, efficiency is key. As a beginner navigating the complex landscape of customer relationship management (CRM) and marketing automation, it's crucial to leverage tools that can simplify and enhance your workflows. HubSpot, a widely-used platform, offers a robust solution with its Workflows feature. In this beginner's guide, we'll explore the basics of HubSpot Workflows and how you can use them to streamline your marketing efforts.
Understanding HubSpot Workflows:
HubSpot Workflows are powerful automation tools that enable you to automate repetitive tasks, nurture leads, and personalize your interactions with customers. Whether you're a marketer, salesperson, or customer support representative, Workflows can be tailored to suit various needs and scenarios.
Key Components of HubSpot Workflows:
-
Triggers:
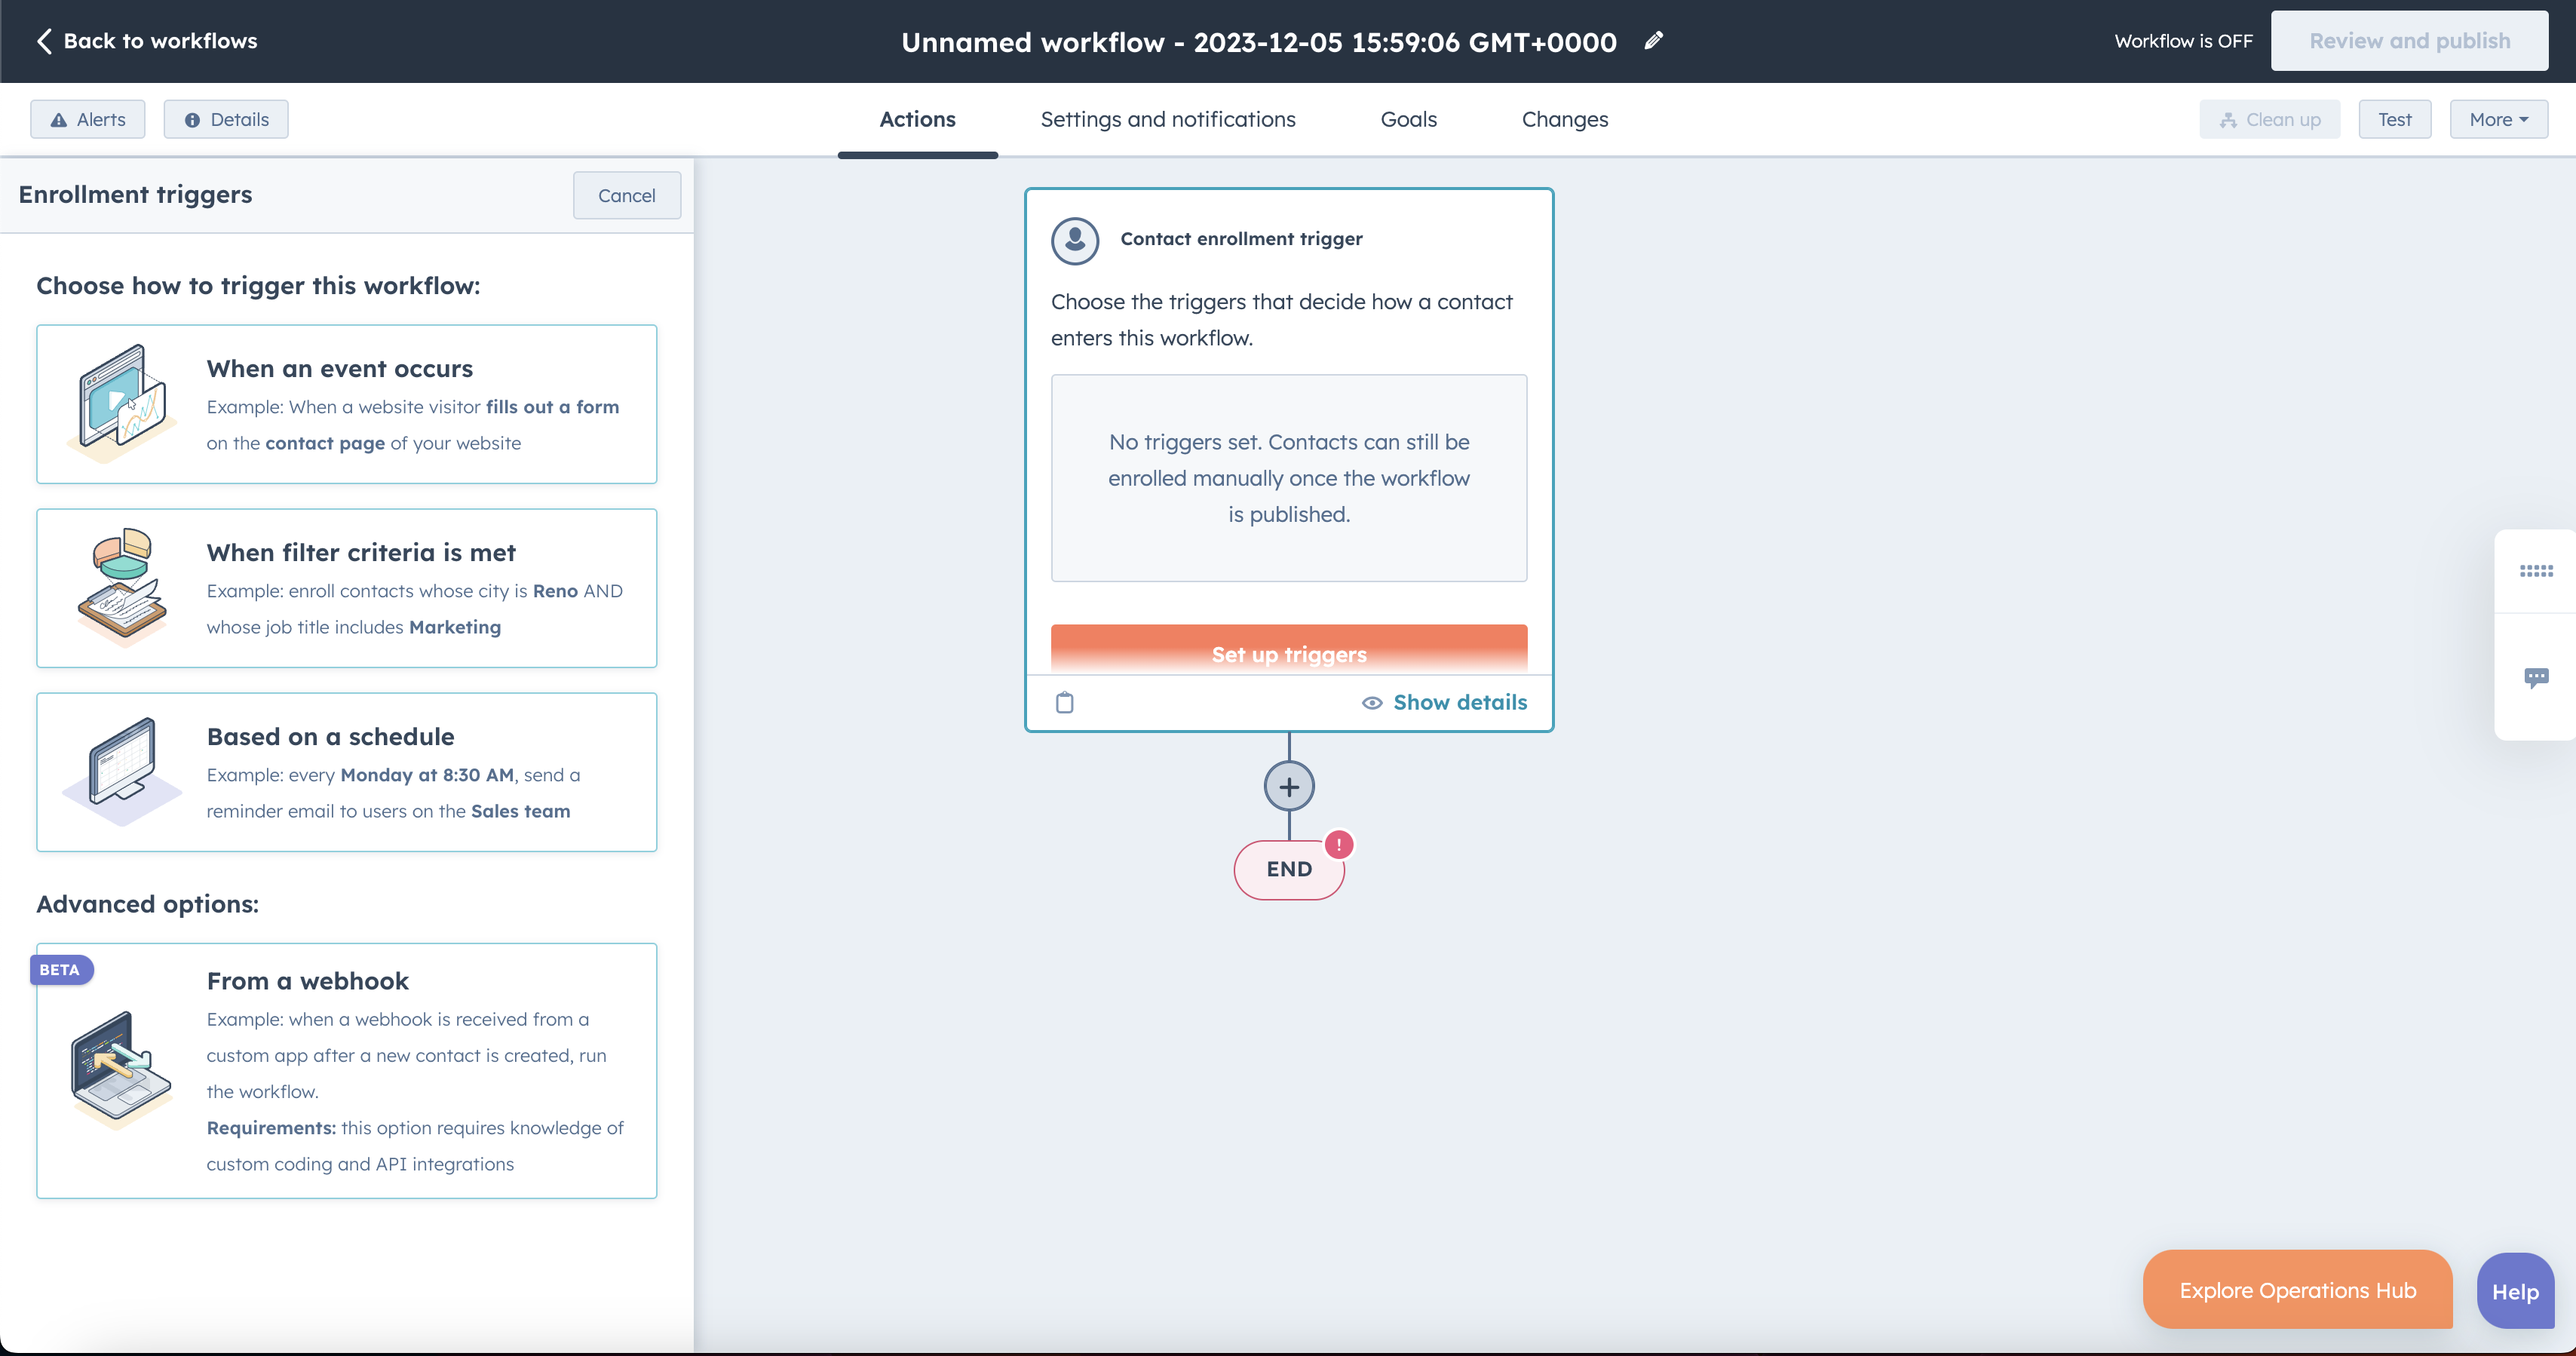
- Triggers initiate the workflow based on specific conditions or actions. These can include form submissions, email opens, page views, or changes in contact properties.
- For example, you can set up a workflow to trigger when a contact downloads a whitepaper or when they reach a certain lead score.
-
Actions:
- Actions are the tasks that the workflow performs once triggered. HubSpot offers a wide range of actions, such as sending emails, updating contact properties, enrolling in another workflow, or assigning tasks to team members.
- An action could be sending a welcome email when a new contact subscribes to your newsletter.
-
Branches:
- Branches allow you to create conditional paths within your workflow based on specific criteria. This enables personalized and targeted communication.
- For instance, you can create branches to send different follow-up emails based on whether a contact opened the initial email or not.
-
Delays:
- Delays allow you to control the timing of actions within the workflow. You can set delays between emails, ensuring a well-timed and non-intrusive communication sequence.
- Use delays strategically to nurture leads and avoid overwhelming your contacts with too much information at once.
Creating Your First Workflow:
Now that we've covered the basics, let's walk through the process of creating your first workflow on HubSpot:
-
Identify Your Goal:
- Clearly define the objective of your workflow. Whether it's lead nurturing, customer onboarding, or re-engagement, a well-defined goal will guide your workflow creation.
-
Choose a Trigger:
- Select a trigger that aligns with your goal. This could be a form submission, email interaction, or any other event that signals user engagement.
-
Outline Actions and Branches:
- Determine the actions your workflow will perform, such as sending emails, updating properties, or enrolling in other workflows. Set up branches to personalize the user journey.
-
Set Delays:
- Strategically place delays to control the pace of your workflow. Consider the timing that makes the most sense for your audience.
-
Test and Optimize:
- Before activating your workflow, thoroughly test it to ensure everything works as intended. Monitor its performance and make adjustments as needed to optimize for better results.
Conclusion:
HubSpot Workflows are a game-changer for marketers looking to automate and personalize their interactions with leads and customers. By understanding the key components and following a systematic approach, beginners can harness the power of HubSpot Workflows to streamline their marketing efforts, save time, and nurture stronger relationships with their audience. As you gain experience, you can explore advanced features and continuously refine your workflows for maximum impact in your digital marketing strategy.
.png?width=100&height=100&name=EMERALDLY%20(2).png)